Cedar Bark Dyeing - Black and Grey
This is the second in a four part blog series about cedar bark dyeing, you’ll find Part 1 here. There is a long history of dyeing cedar bark using metals such as iron and copper. These processes and stories belong with the Indigenous cultures along the coast here of British Columbia and hopefully if you are interested in learning about them, you will be able to find Indigenous artists who can best support your dyeing journey. In this post, I’ll be focusing on what I’ve been experimenting with to get different greys and true blacks cedar bark strips using natural materials.
Please note: harvesting cedar bark from live trees takes training, knowledge and a deep respect for the trees and forests. Western redcedars (Thuja Plicata) and yellow cedars (Cupressus Nootkatensis) are not adapting well to Climate Change and over-harvesting of bark can kill trees, especially if they are already stressed. If you are trained and are proceeding with cedar bark harvesting, please make sure you are familiar with the practices, teachings, protocols and permissions of the People’s land you are on as we work together to undue and heal the harm of colonialism.
Materials involved: cedar bark strips, iron, tannin and logwood.

It started out this way
The cedar bark I dye usually comes pre-dried and cut into bundles of a variety of widths based on inches - 1/8”, 1/4”, 1/2” and 1”. These widths are then used for a variety of projects by cedar bark weavers.
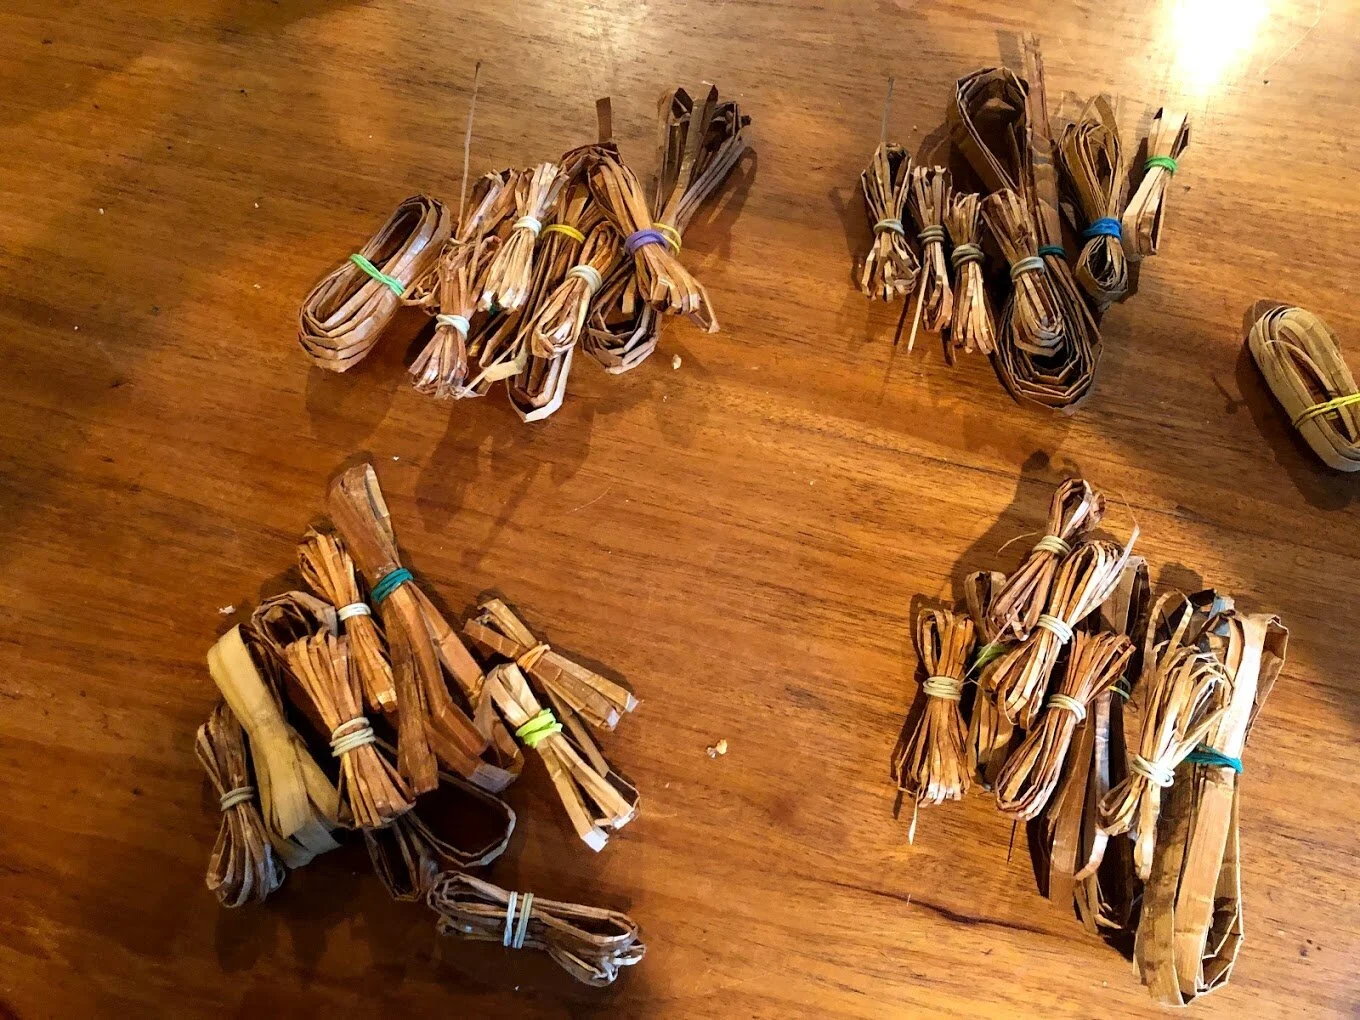
Split it up into piles
I then start splitting it up the bark into smaller piles depending on the colour requests. I then weigh each pile to guide the colour processes. One of these piles is for black.

Metals
Cedar bark can drastically change colour in the presence of metals such as iron and copper. Iron for example will produce a wide range of deep greys (and I’m still exploring acheiving a true black just with iron). Many people use a solution they make themselves of rusty nails. I use ferrous sulfate which I pick up through Maiwa, either 10% WOF or about 1/2 to 1 tbsp (if I’m feeling lazy) depending on the amount of cedar bark I want to dye. It doesn’t need to be exact though if the solution is very strong, it can degrade the cedar bark and it can shred easily once dry.

10% WOF
WOF stands for weight of fiber - so if you’re measuring out iron to make a dye solution, you can use 10% ferrous sulfate to weight of cedar. For example, if you have 107 grams of cedar bark, you’d want to measure out about 10.7 grams of ferrous sulfate. I then dissolve this in a glass jar filled with hot water. That jar is then poured into a pot of water large enough to submerge the cedar. I keep stirring until everything has dissolved.
Soak the bundles
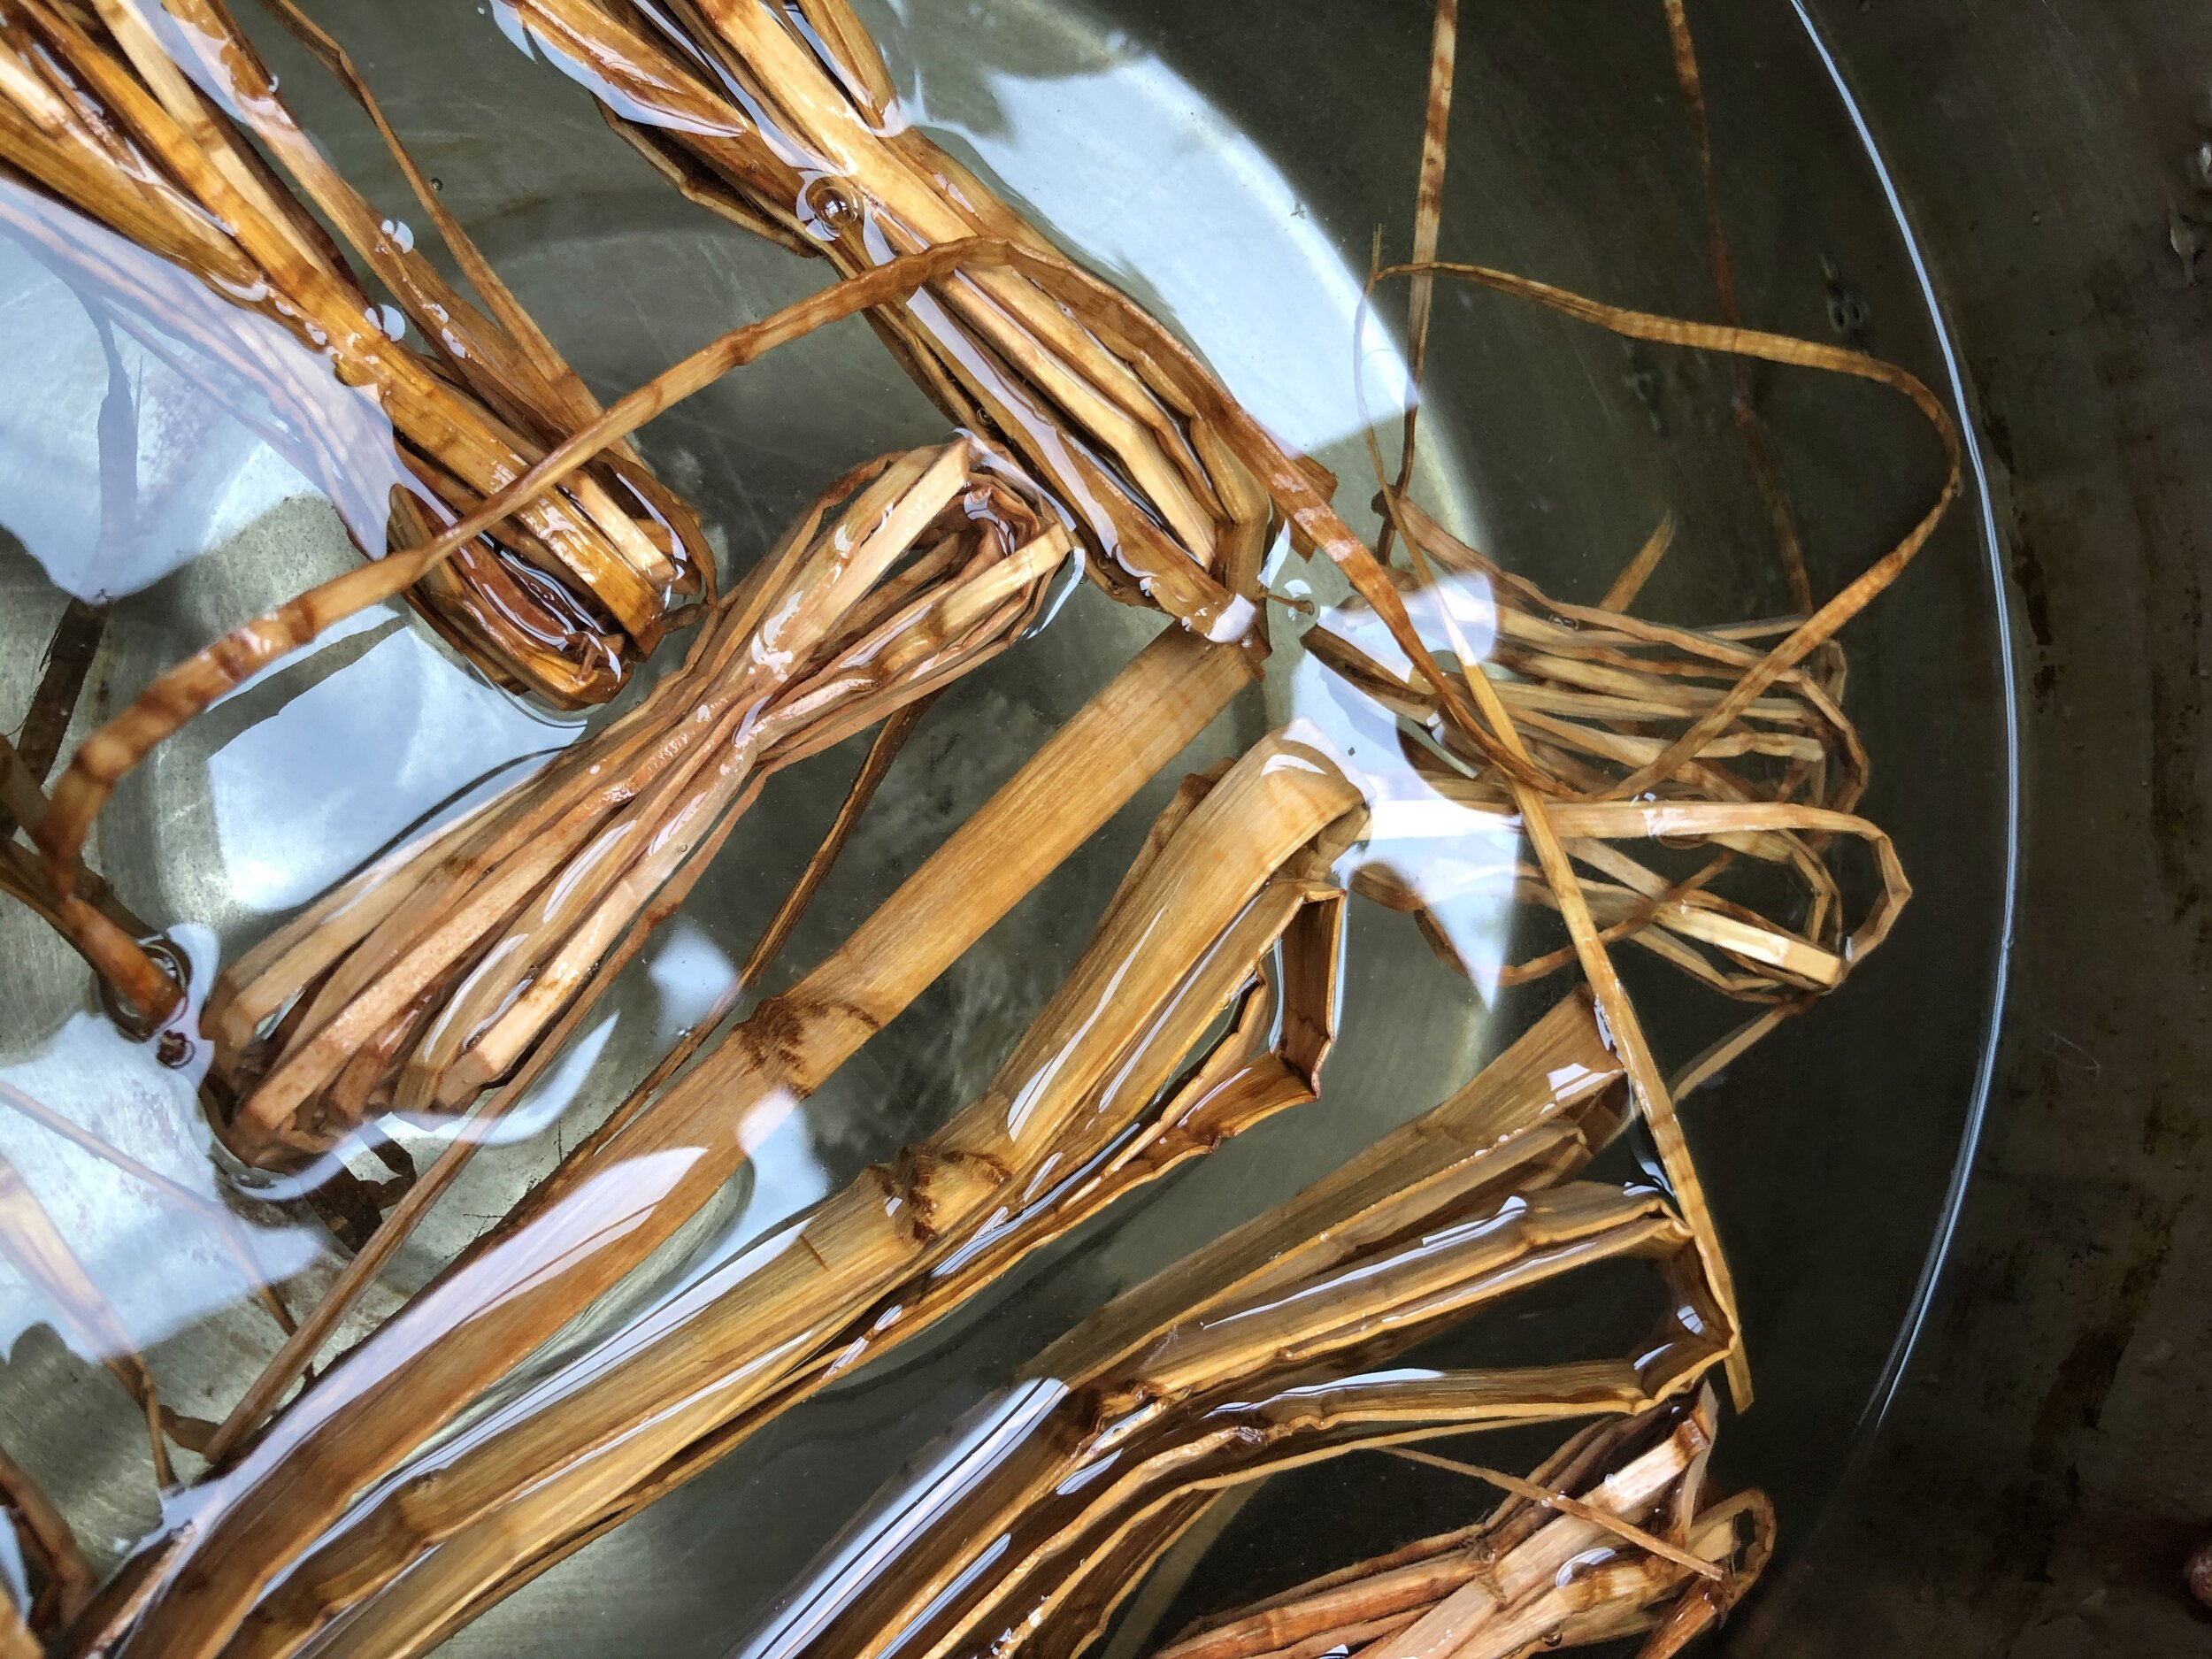
I find the bundles need to be soaked first in (just) water before they are unraveled. This softens them up and prevents the cedar from splitting. I usually soak them for about 5 minutes in warm tapwater.

Bundles into the pot with iron
Once the cedar has soaked to the point it’s soft (and noticeably more colourful), it’s added to the pot with the iron solution. I usually ensure the cedar stays submerged by using a pot lid (smaller size than the dye pot) to perch on top of the cedar (unlike this picture). It’s important all the cedar is underwater for even colour take up.
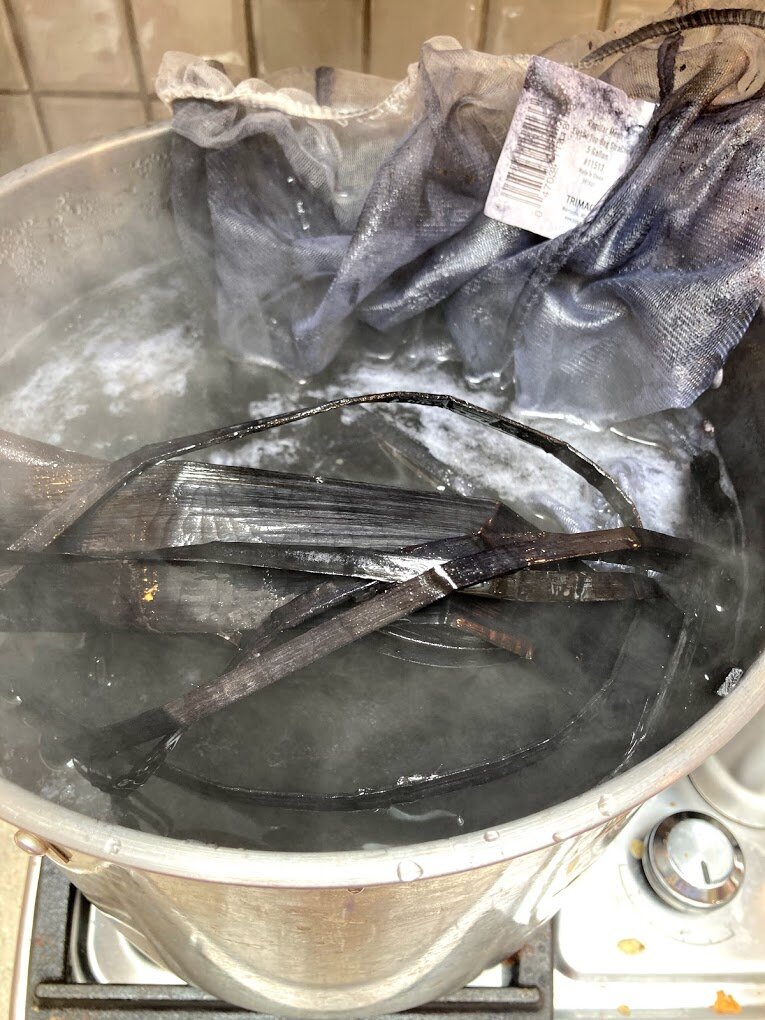
Simmer and simmer and simmer
If you’re aiming for a grey tone, simply watch the cedar every 10 mins or so and take it out when it’s the shade you’re after. For really dark shades, cedar can take longer than wool. Here, I’ve gotten a dark grey by simmering for 3 hours. Dyeing cedar bark can be an all day affair. You can also skip the heat and use the iron solution in a bucket to soak the bark for about 3 days for similar results.

51 Shades of Grey
Results using 10% iron (WOF) and simmering for 3 hours.
True Black
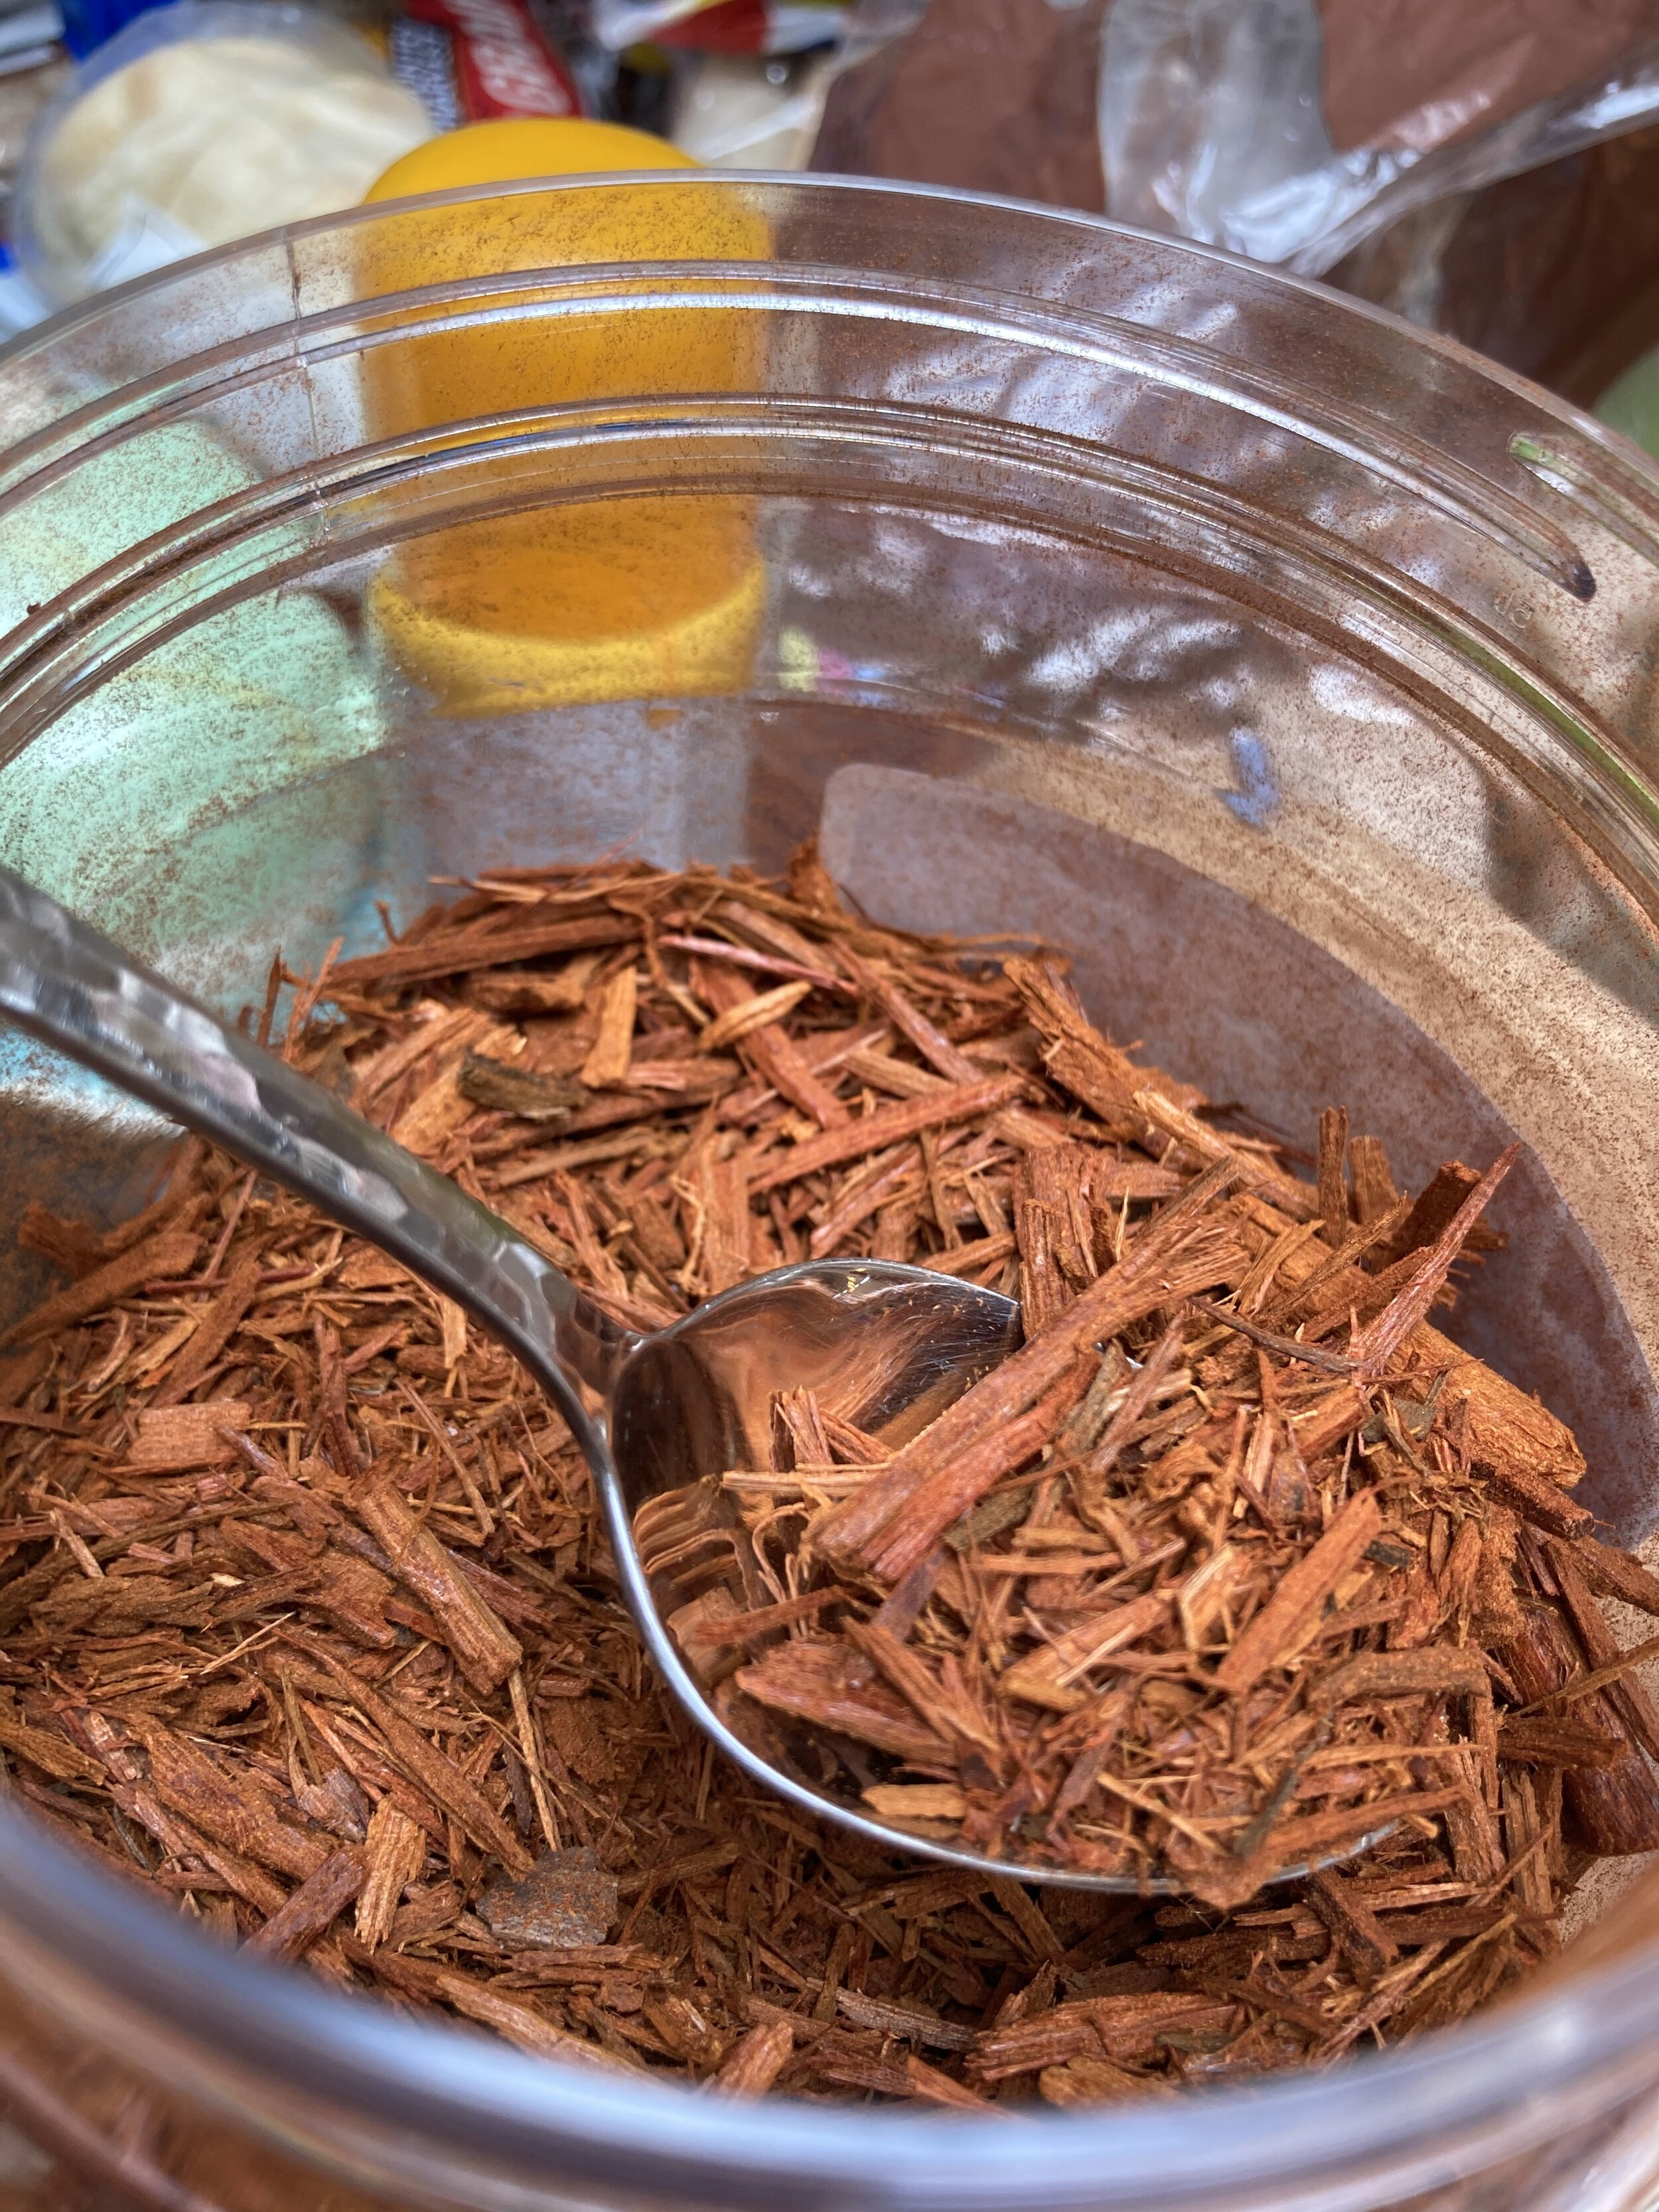
There are several ways to achieve a true black with cedar bark. This is just the one I experimented with until I got black. I used logwood - this concentrated dyer is the heart of the logwood tree (Haematoxylon campechianum), which I picked up dried and preshredded at Maiwa. If aiming for a true black, use a whopping 50% WOF dried logwood to cedar bark (I also tried 25% WOF but only got a very dark grey). I add the logwood to the dye pot at the same time as the iron and let it simmer for an hour before adding in the cedar bark.

3-hour simmer
When it comes to colours from plants, cedar bark seems to take a little longer than wool to be convinced. A 3-hour simmer gives this black.

Results
The combination of 10% iron WOF and 50% logwood WOF over a three hour simmer gives a reliable black.

Drying
I’d like to experiment with using metals like iron and copper over a longer, unheated period (weeks? months?) and see if that will give a true black as well. There’s always more to try.