Cortinarius smithii mushrooms

There are at least three species of related mushrooms here in the Pacific Northwest that provide shades of true reds: Cortinarius sanguineus, C. smithii and C. semisanguineus. Today I dove in with C. smithii (photo by Arion Wanderer). Generally, this mushroom has red tops with a tan/orange stalk and is usually referrred to in dyeing circles as one of the “red Corts” or “red Democybes” (older taxonomy).
TL;DR: Yarn premordanted with alum (16% WOF), dyed with dried red Corts at 100% WOF for 1 hour.

C. smithii
Photo credit: Arion Wanderer

Just a little off the top
For this dyeing sesson, I only used the red tops which had been separated from the (rich tan coloured) stalks, this was done to try and get as true a red as possible. There is also red dye in the stalk but I’ve also heard it can subtly shift the colour to more tan tones. Here pictured is my pile of dried tops which have an interesting metallic bronze sheen to them.

10.4 grams
My aim was to test out the colours I could get from just using the dried tops. I then made up a 10gram skein of white wool and premordanted it with 16% alum. The skein was left to soak for about 20 minutes in room temperature tapwater.
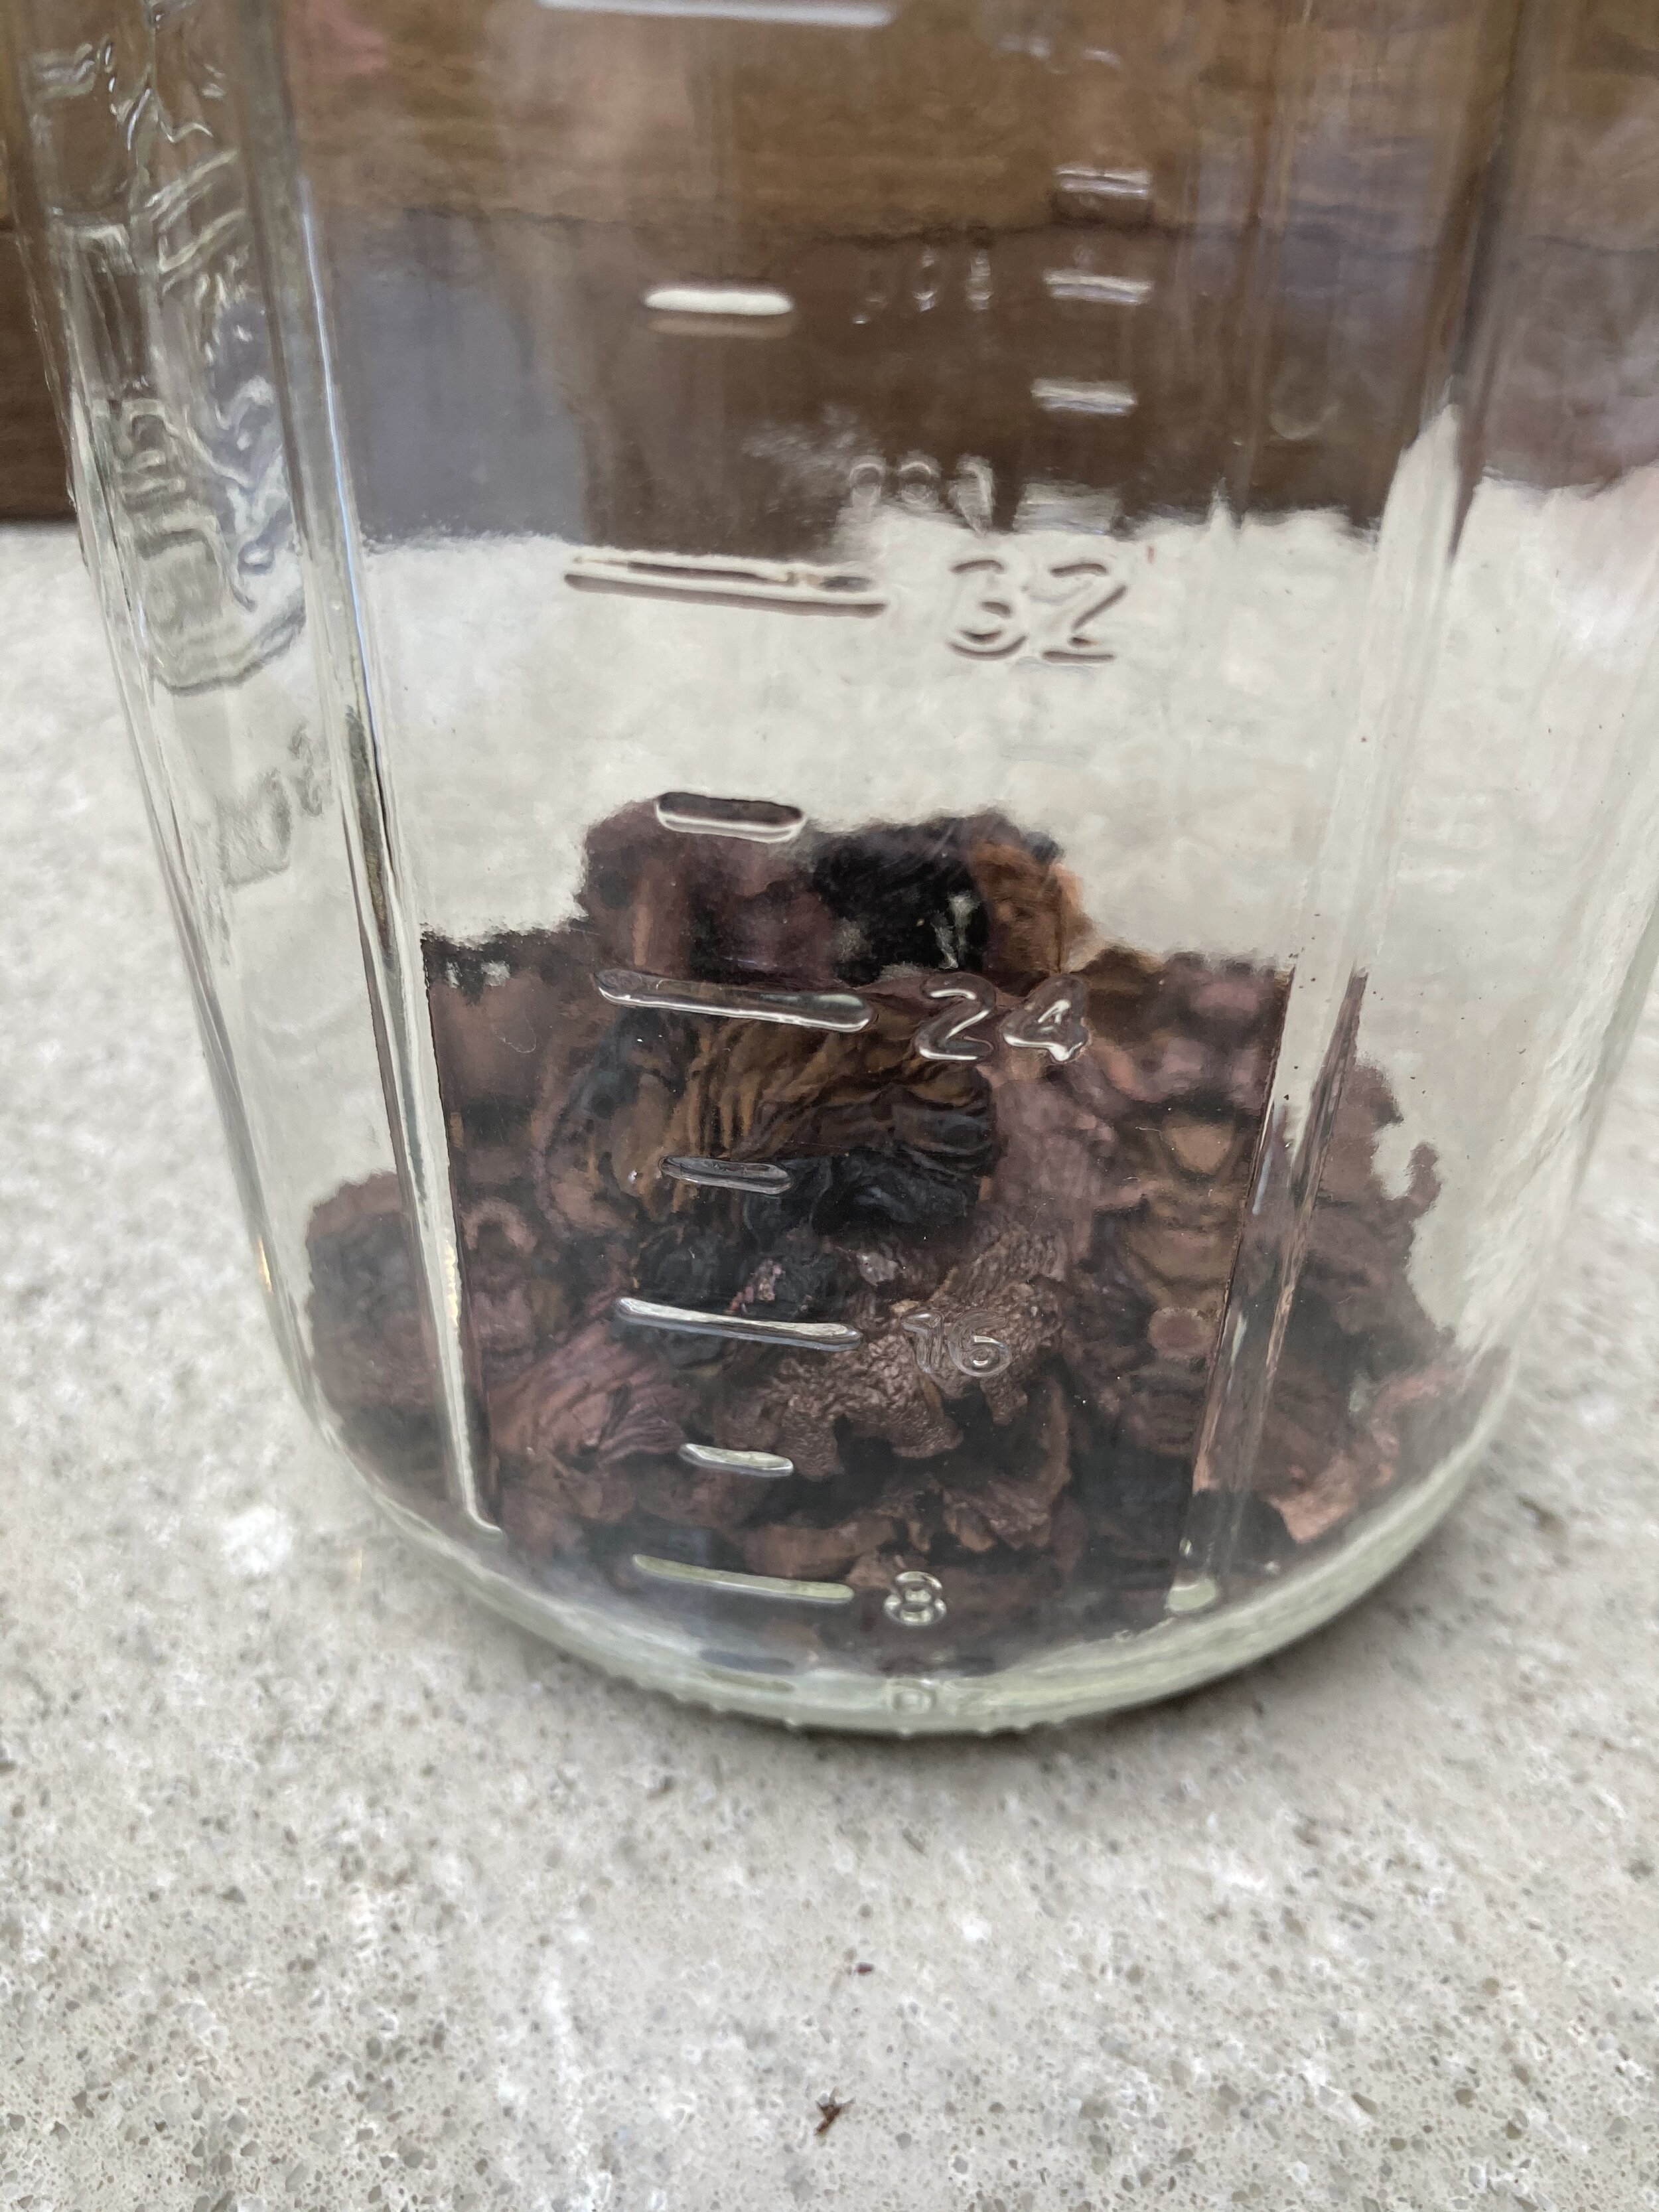
View from a jar
The mushrooms were then roughly chopped up with scissors and placed into a 2L glass jar.

About 1L of tapwater was added to the jar, which was then placed into a pot of warm water. Using this method, the jar was then heated on the stove to about 80°C for one hour. I stirred occasionally and mostly poked at the mushrooms with a chopstick. After this, it was time to add the pre-soaked wool yarn.
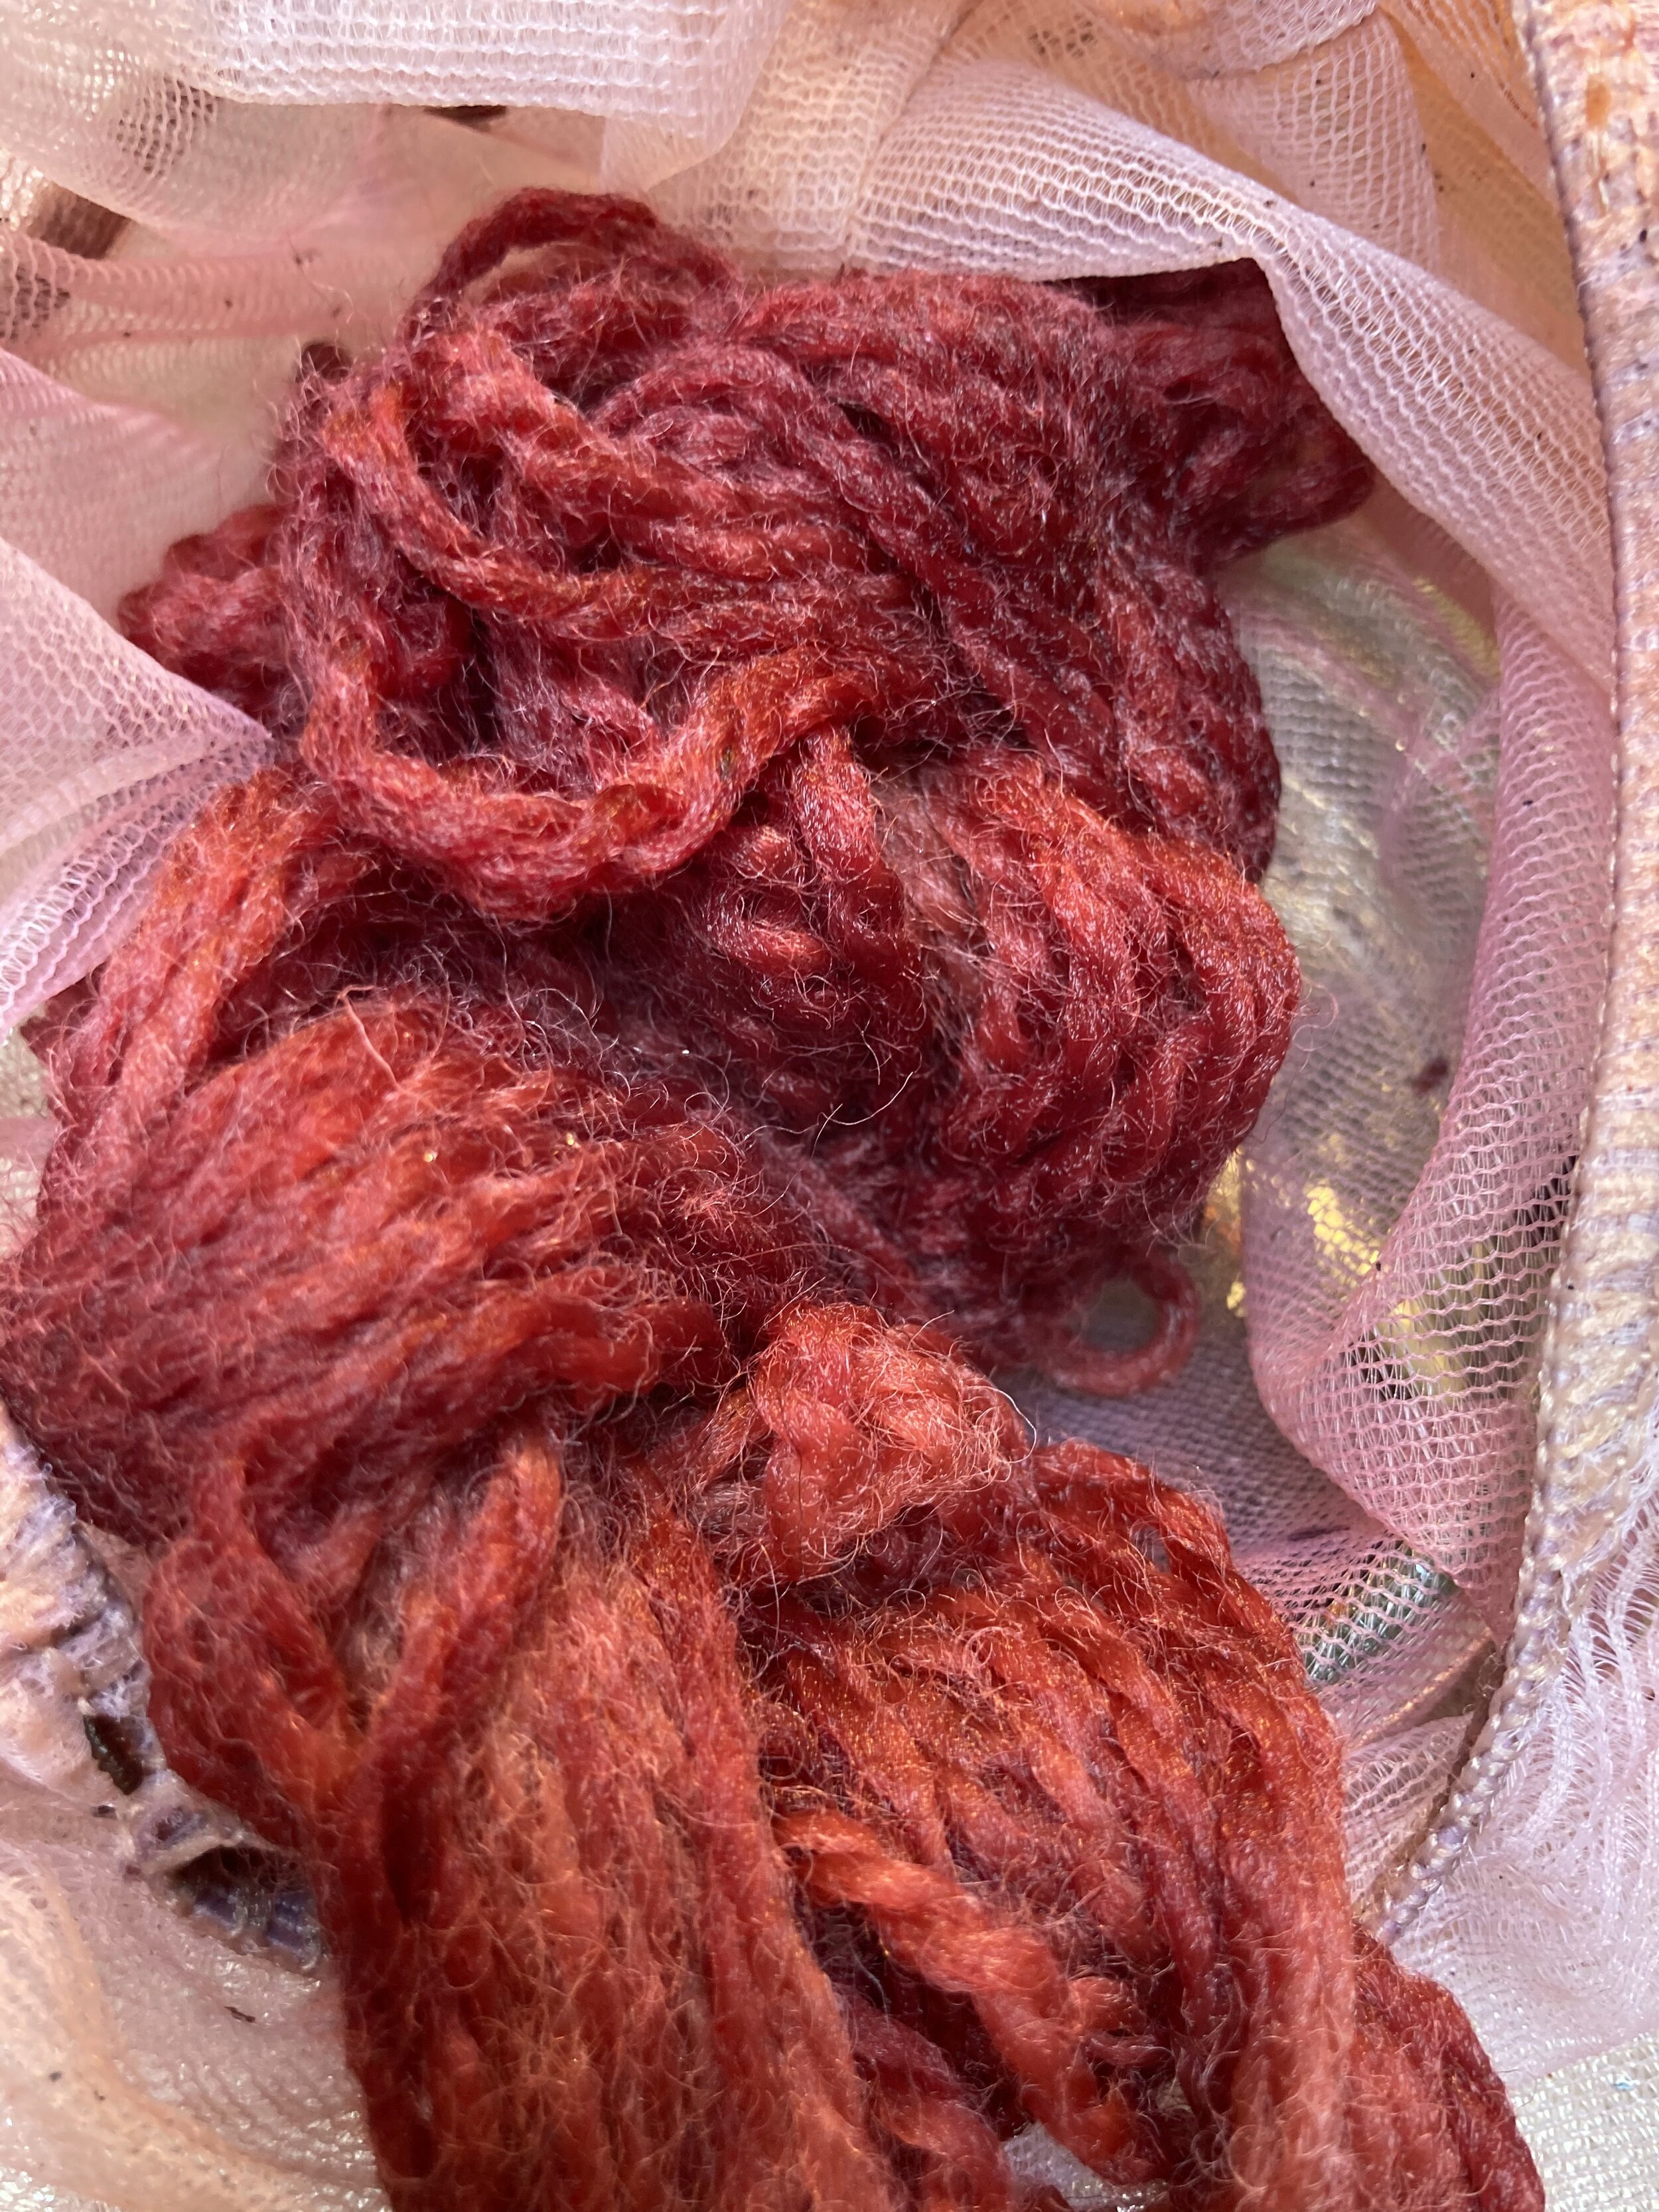
I experimented with this video showing how I add a small amount of fiber into this style of dye vat (for more information on mushroom dyeing, please consider checking out one of Alissa Allen’s mushroom dye workshops). I add the fiber while it’s in a mesh paint bag (from a typical paint store). This extra step allows the fiber to remain isolated from the dye material without the hassle of decanting. In the video you can see me add in the fiber that was premordanted with alum (at 16% weight of fiber).

Rich red
The dye vat proceeded to quickly turn a rich red once it started being heated.
5 minutes in
I checked it briefly at the start of the dyeing process and this was already the colour of the yarn. It’s clearly a strong dye material. I left it to simmer for an hour (poking and rotating it occasionally), left it to cool down for an hour or so and then rinsed it in the sink.

Final Colour
After an hour at a simmer, this was the final colour. A lovely rich, true red.
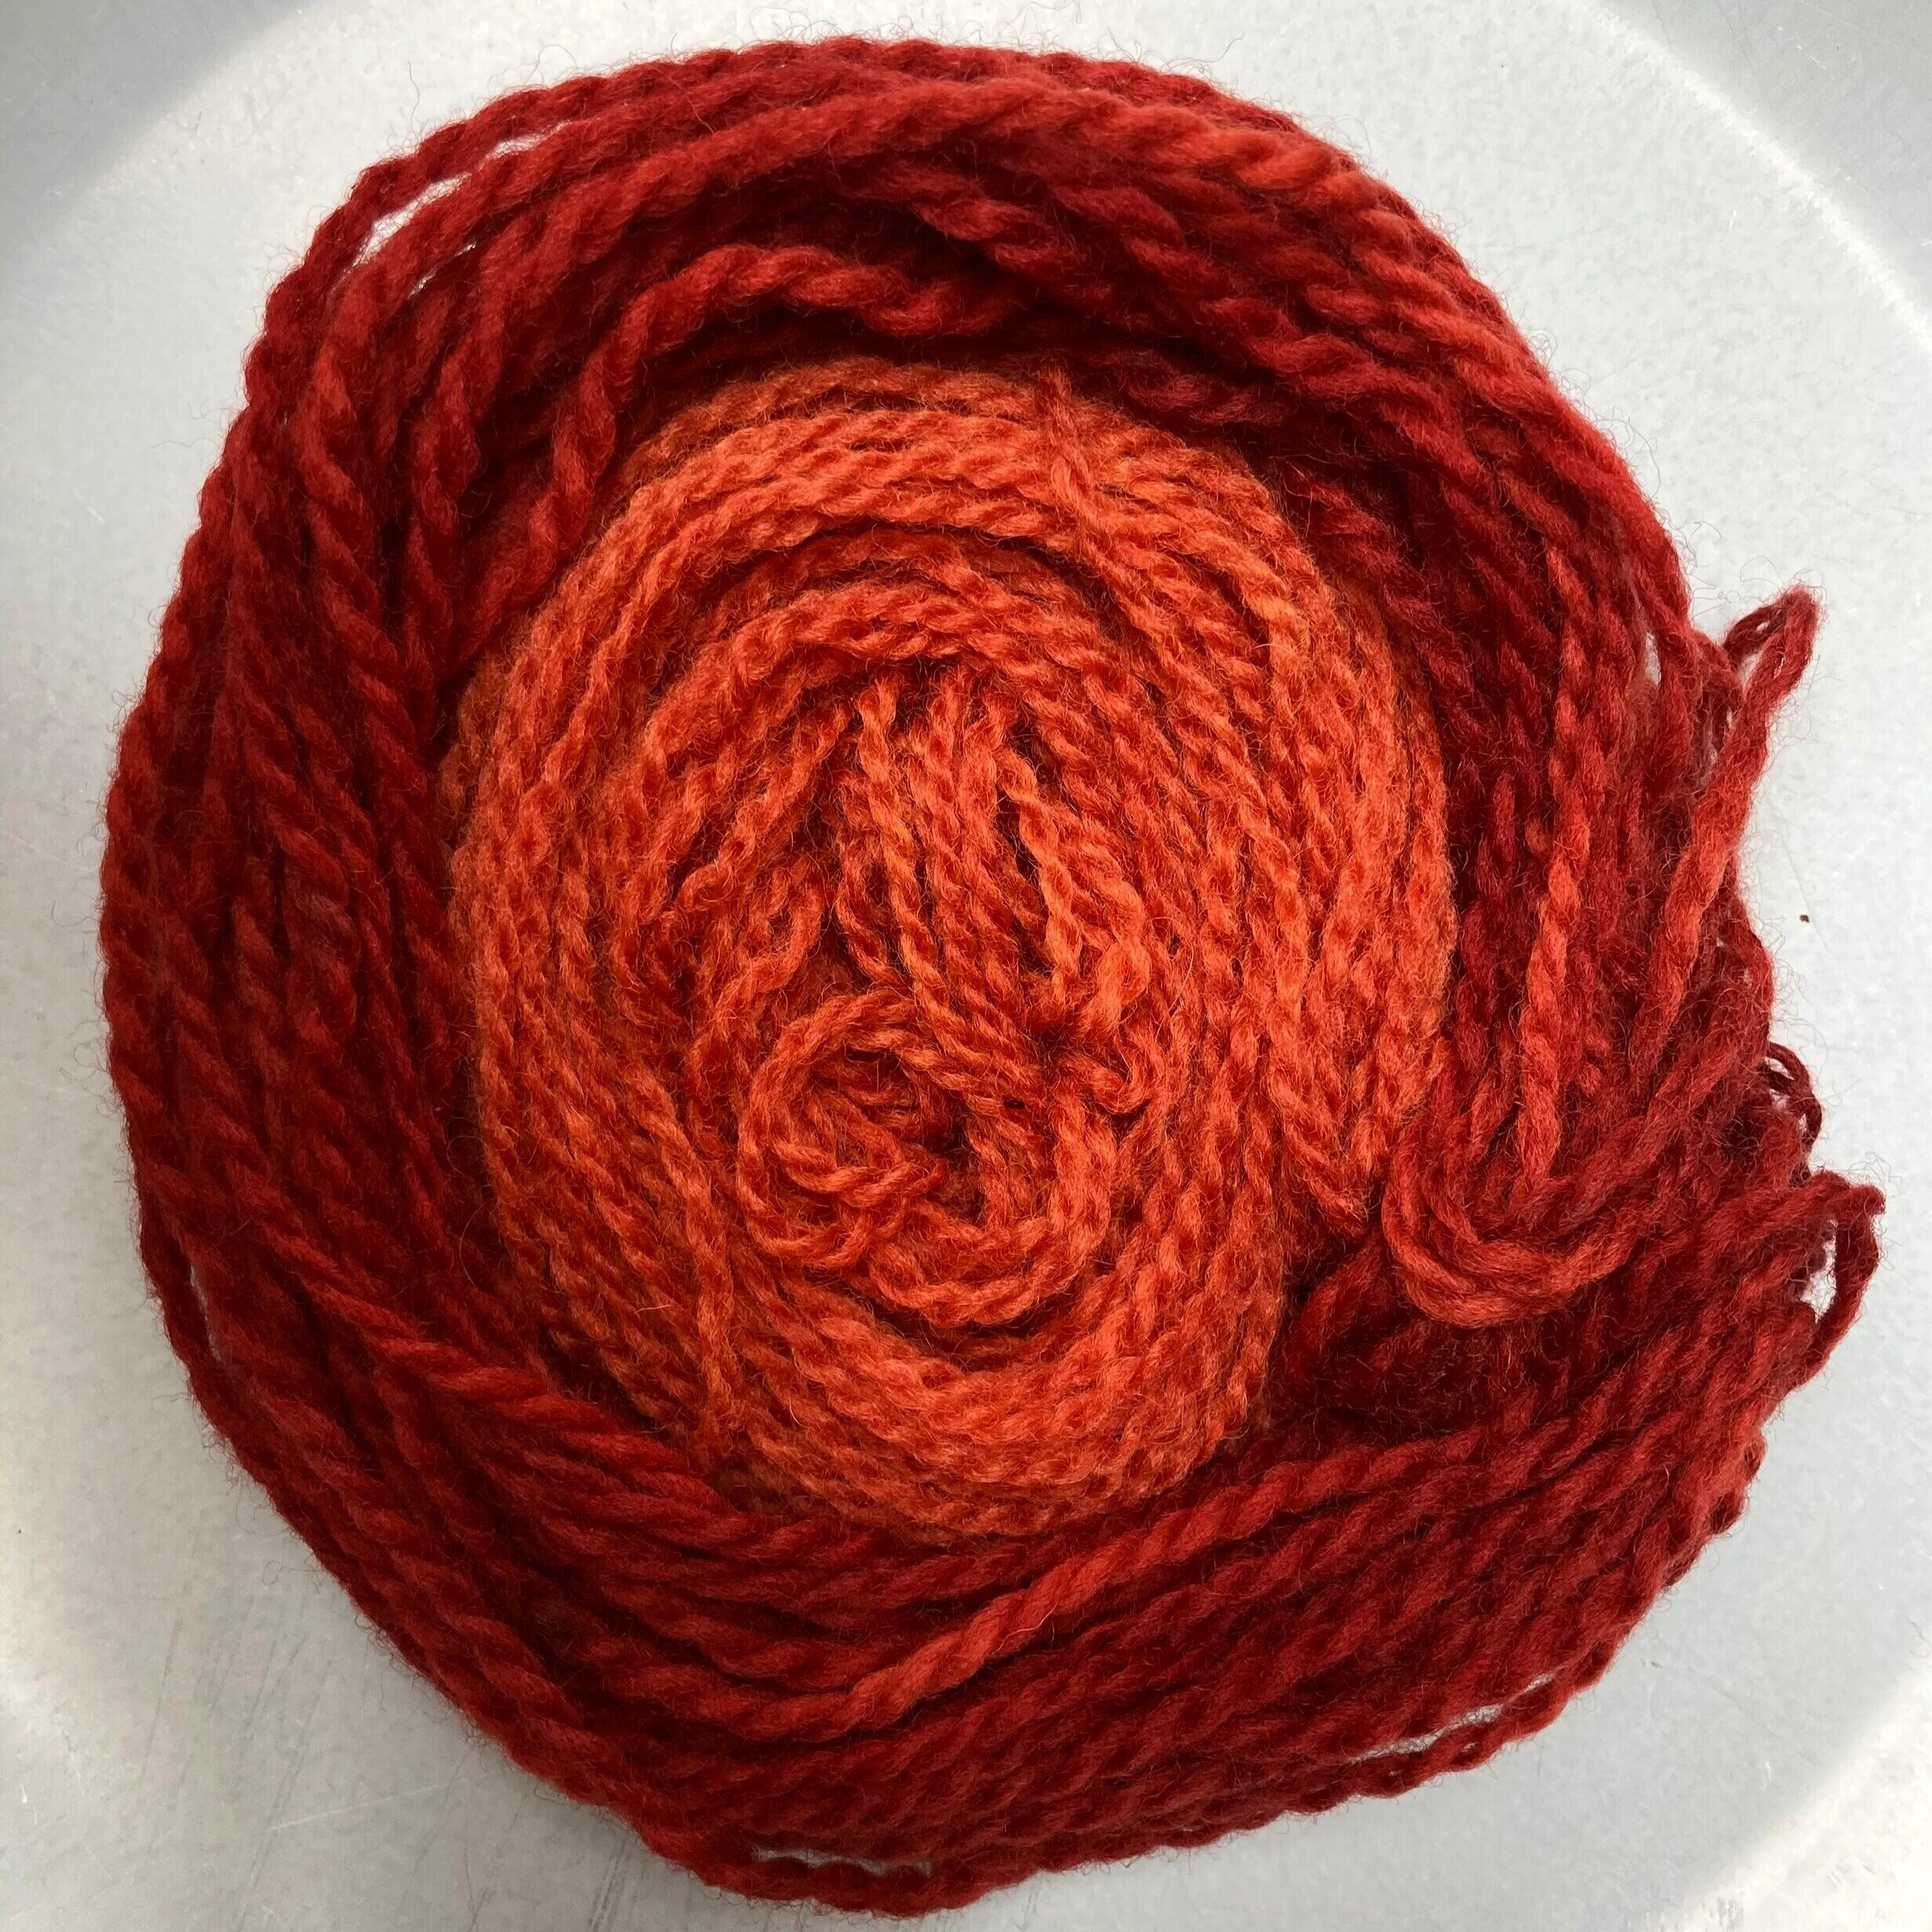
Exhaust Bath
The yarn in the middle was the first exhaust bath - it came out a peachy orange.